EdisonDiamondDisc.com presents:
"SAVE YOUR TALKING MACHINE FROM THE UPS/DHL/USPS/FEDEX DELIVERY MONSTERS!"
If you have sold your machine, or are shipping it in for repairs, here are highly detailed instructions for proper packing
and shipping your tabletop talking machine. From my experience receiving
and shipping these, I can give you a liberal estimate
that
85% of all external horn type phonographs shipped receive internal
and/or external wood/metal damages due to the heavy handling that they
endure during the shipping process, and IMPROPER PACKING!!!!!! Simple preparation and proper padding will save
you from needing big-$$$ repairs and mind-numbing insurance claim processing.
MACHINE MUST BE DISASSEMBLED, AND EACH PART BE PACKAGED INDIVIDUALLY IN ONE LARGER BOX.
BUYERS: Send these instructions to the seller so they can pack the machine PROPERLY!
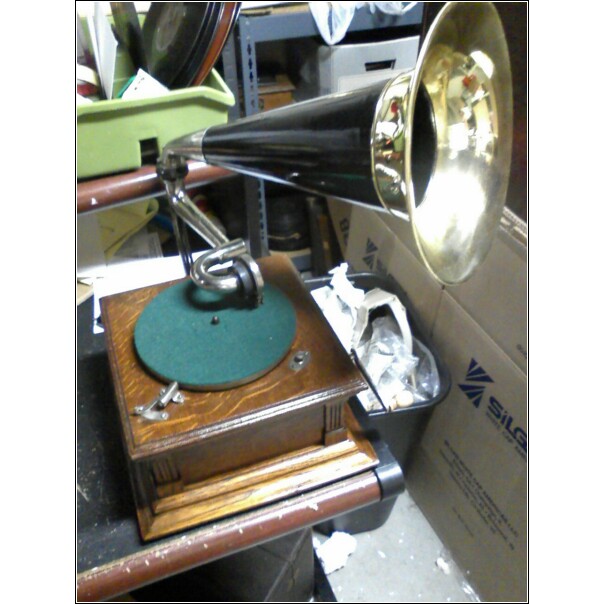
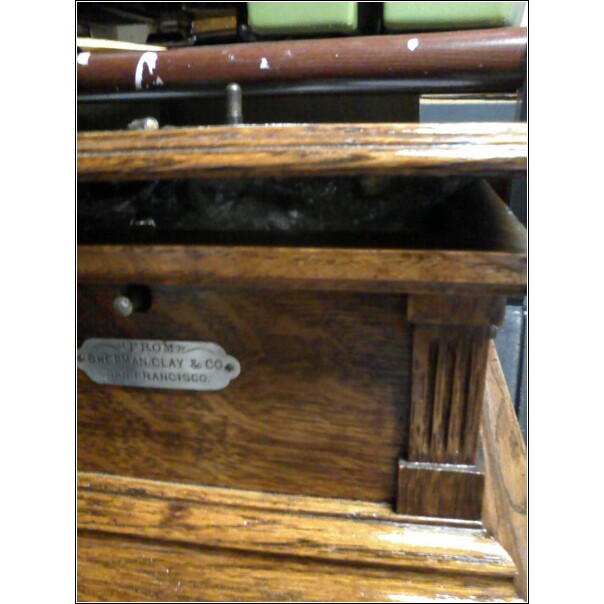
This is an early Victor external horn phonograph. I will show you how
to properly disassemble it and pack it in a reasonably sized box.
Smaller phonographs like Victor I / E will generally fit in a
35tallx21x19, larger machines like Victor III, and IV will fit in a
35tallx24x21double-wall "WARDROBE" sized box.
We will disassemble this machine into the folowing constituent parts:
*crank
*horn elbow
*horn
*cabinet
*turntable
*tone arm and back bracket
The packing box will be separated into two compartments: CABINET on bottom, and HORN (etc) on top.
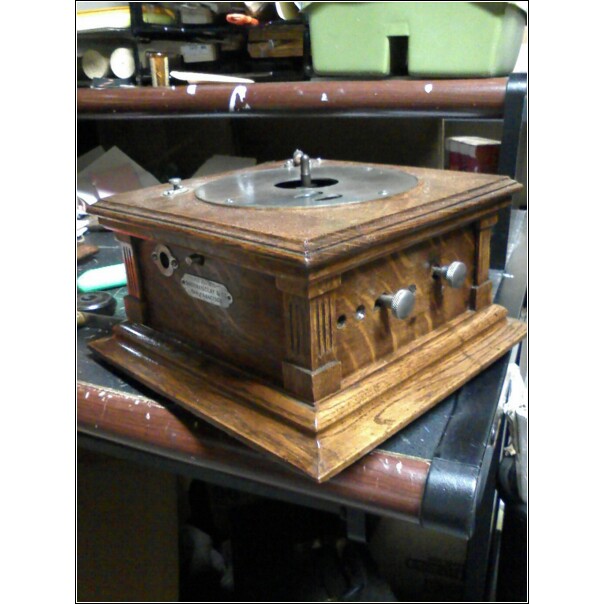
1. Remove turntable (lifts UP off of spindle)
2. Remove crank
3. Remove back bracket and re-install thumb screws into cabinet
4. ALLOW MOTOR TO RUN DOWN COMPLETELY!
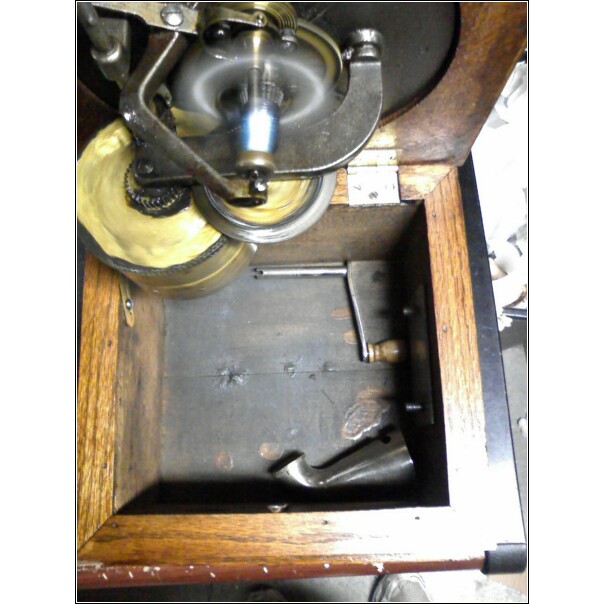
5. Place crank and horn elbow inside bottom of main
cabinet. Wrap in newspaper if desired. Make sure they are
placed away from motor, so cabinet can be closed with crank and elbow
inside.
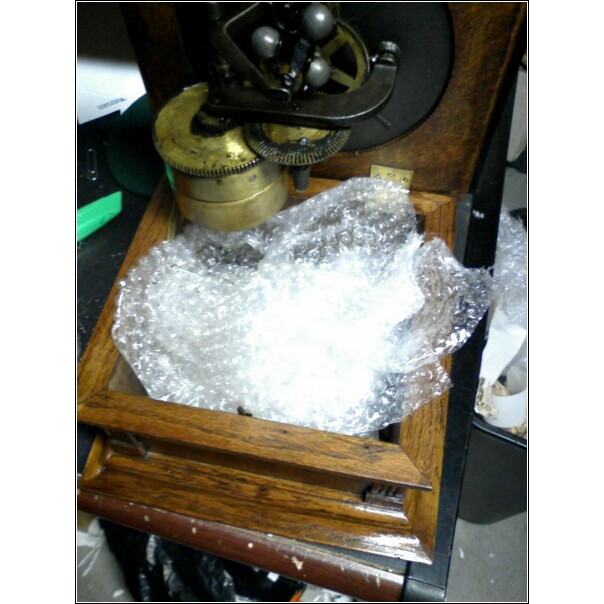
***SUPER IMPORTANT STEP!!!***
6. Using wadded bubble wrap or wadded newspaper, pack around the
crank and elbow, and provide padding UNDER the motor. It is
important to provide padding UNDER the motor (with some pressure) to
SUPPORT it during shipment. If the machine is shipped
without padding under the motor, it is very likely that the motor will
jar loose and break the cabinet lid it is attached to (it IS only
attached with 3 or 4 bolts). Most cabinet lids are actually
assembled from 3 or 4 planks of oak or mahogany. The weakest
parts of the lid are its numerous glue joints. And when they are
jarred.......they crack........then things start to break from
vibration.
7. You will want to put enough padded support under the motor so
that there is about 1/2" to 3/4" of resistance when closing the
lid. This will ensure the motor is going to stay put.
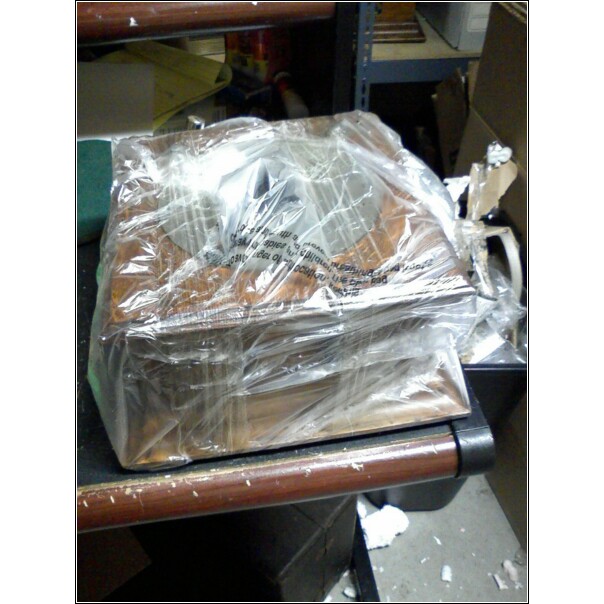
***VERY IMPORTANT STEP***
8. To keep the cabinet lid from dislodging and breaking away from
the cabinet body, we need to wrap it tightly. To do this, place a
few plastic shopping bags around the cabinet, and then strap tape
tightly around both the front (where the securing latch is) and the
back (where the hinges are). This will ensure that the cabinet
arrives INTACT.
9. Now we'll take a moment to prepare our box. After
assembling the box, put about 3"-4" of styrofoam peanuts in the bottom
of the box, then place a piece of cardboard above it, placing tape on
all edges.
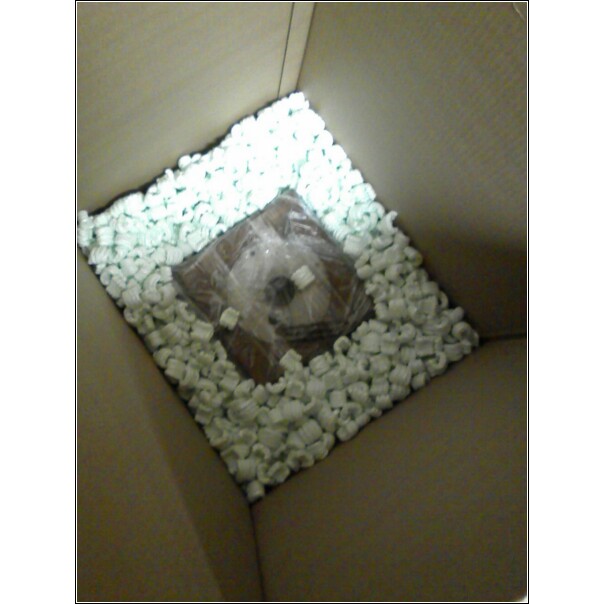
10. Place the machine on the "shelf," then surround it with
packing material (styrofoam peanuts, urethane foam block, tightly
packed wadded newspaper).
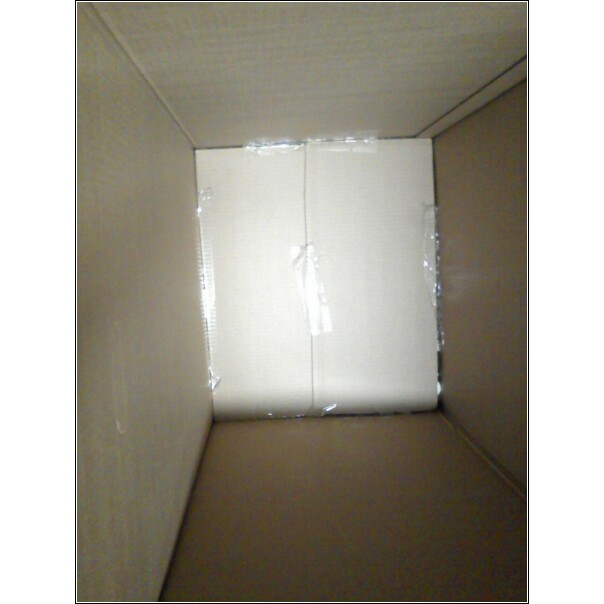
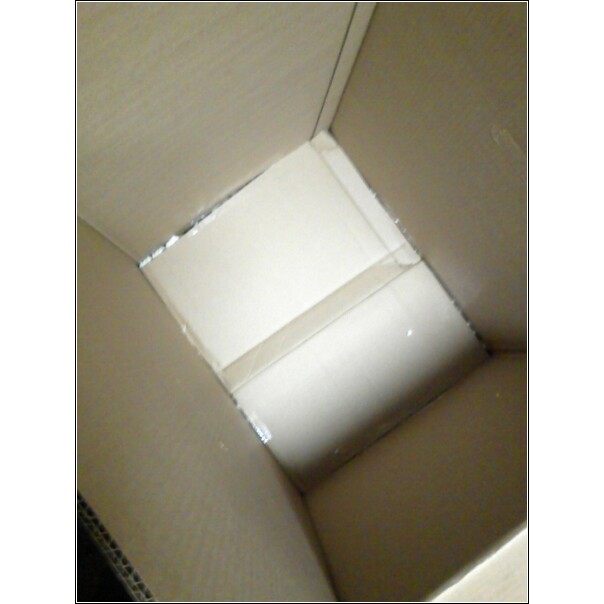
11. Pack level with the cabinet lid, because we will be placing
another cardboard shelf above this one to create another compartment
for the horn, etc.
12. Place the second shelf in place, and put tape on all edges to hold it in place.
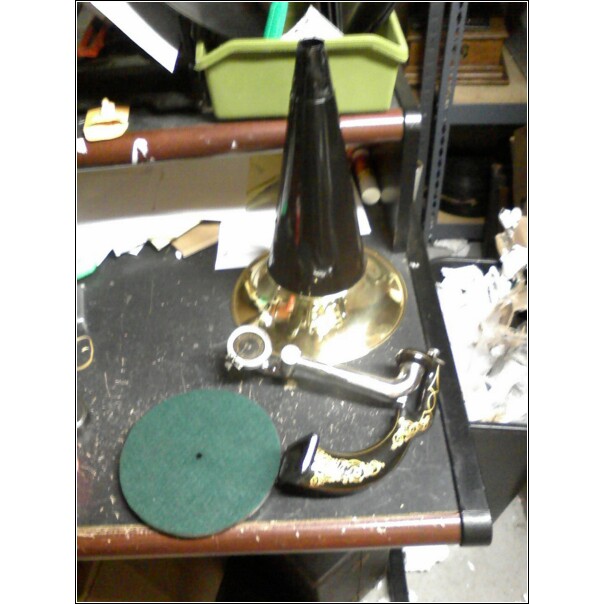
13. Here are the remaining parts which need to be packaged:
HORN, TONE ARM & BACK BRACKET, and the TURNTABLE PLATTER.
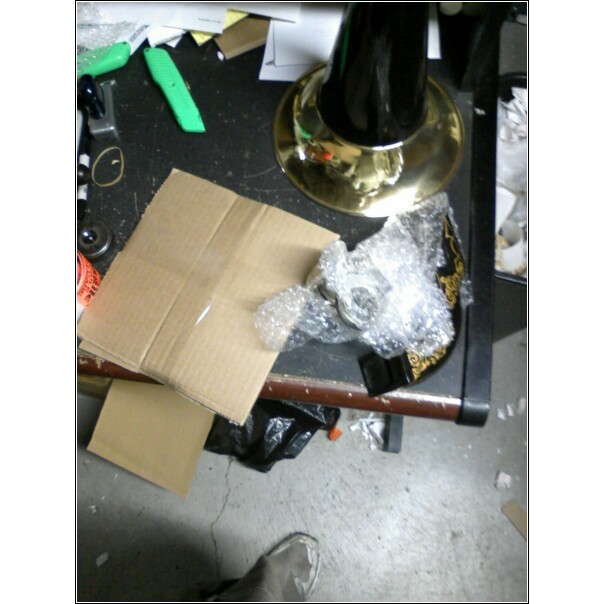
14. Pack turntable between two pieces of cardboard and tape together tightly.
15. Place bubblewrap around tone arm and back bracket. THEN, wrap
in a piece of cardboard, folded over, and taped shut to keep the parts
from moving.
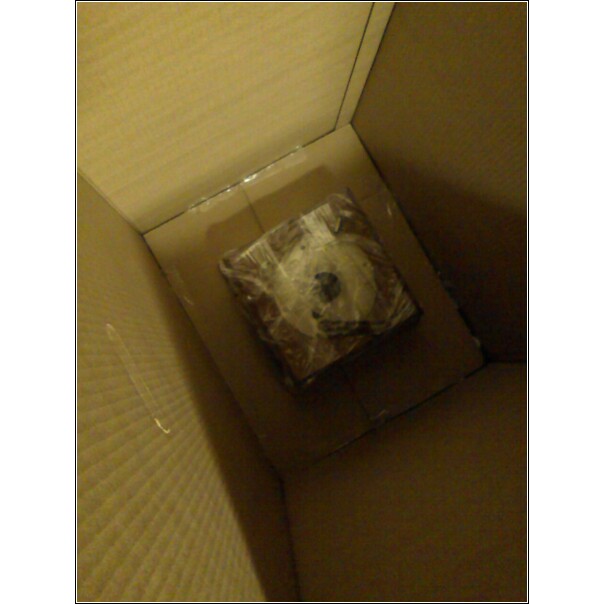
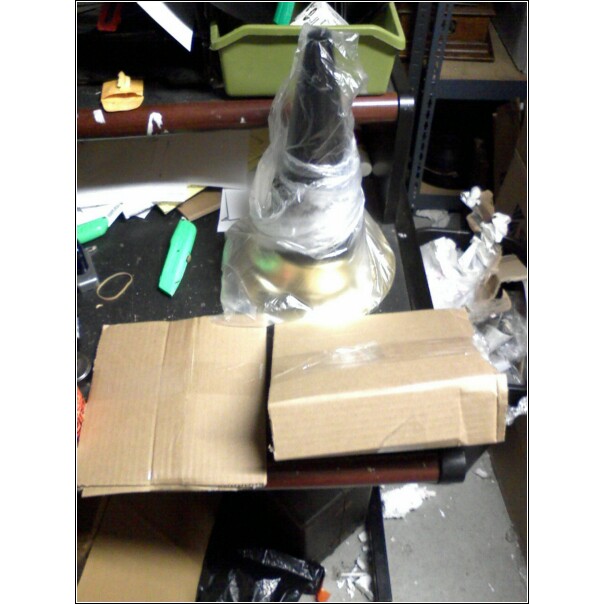
16. Place horn in a plastic bag.
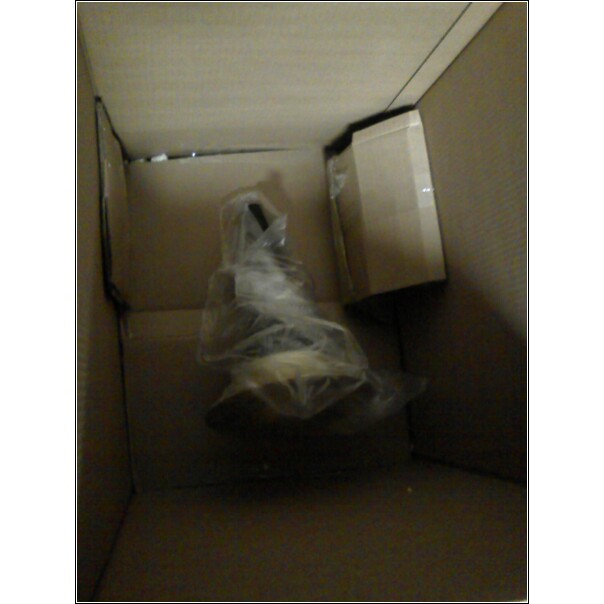
17. Place turntable and tone arm packs against walls of
box, and then tape them in place. Place horn in center.
18. Fill area with styrofoam peanuts and packing material.
You can cut down the box height to allow 5" of padded space above the
horn. Close up box, tape shut all seams, and apply FRAGILE
stickers to all six sides.
SEND VIA UPS GROUND INSURED
If you can offer suggestions to better this article, please email me: wyatt (at) edisondiamonddisc (dot) com